API Basics
NEAR AI provides a standard Web API based on OpenAPI to interact with the Developer Hub, allowing powerful backend integrations.
In this article you'll find information on how to generate a valid auth token to use the API, and links to the API reference documentation:
Using the API
To use the Near AI Web API methods, you'll need an authorization token generated from your NEAR account.
In the next section, you can find detailed information about the auth bearer token, and how it can be generated in a programmatic way.
Auth token
The auth bearer token is a stringyfied JSON that must contain account_id, public_key, signature, nonce, and message (it can also include some optional fields).
For example, this object:
{
  "account_id": "demoaccount.near",
  "public_key": "ed25519:G59i7tou.....QGUrfSkeJ",
  "signature": "P6fZ5bp9j.....Z7BvtqDQ==",
  "callback_url": "https://app.near.ai/sign-in/callback",
  "message": "Welcome to NEAR AI Hub!",
  "recipient": "ai.near",
  "nonce": "00000000000000000001741287395592"
}
Becomes a string token:
auth:'{"account_id":"demoaccount.near","public_key":"ed25519:G59i7touKk.....QGUrfSkeJ","signature":"P6fZ5bp9j.....BVTZ7BvtqDQ==","callback_url":"https://app.near.ai/sign-in/callback","message":"Welcome to NEAR AI Hub!","recipient":"ai.near","nonce":"00000000000000000001741287395592"}'
Tip
If you're logged into app.near.ai, you can grab the token out of the auth cookie. For example:
auth:"%7B%22account_id%22%3A%22demoaccount.near%22%2C%22public_key%22%3A%22ed25519%3AG59i7tou.....QGUrfSkeJ%22%2C%22signature%22%3A%22P6fZ5bp9j.....Z7BvtqDQ%3D%3D%22%2C%22callback_url%22%3A%22https%3A%2F%2Fapp.near.ai%2Fsign-in%2Fcallback%22%2C%22message%22%3A%22Welcome%20to%20NEAR%20AI%20Hub!%22%2C%22recipient%22%3A%22ai.near%22%2C%22nonce%22%3A%2200000000000000000001741287395592%22%7D"
Generate the token
You can also generate the auth bearer token using your preferred programming language. In this section you can find a few code samples using Python, Rust, and JavaScript.
This code example uses the nearai CLI to complete the authentication process, and then generates the auth token. For additional details, check the full implementation.
import shlex
import sys
import fire  # type: ignore

from nearai.cli import LoginCLI  # type: ignore
from nearai.config import load_config  # type: ignore
from nearai.shared.client_config import ClientConfig  # type: ignore

def get_nearai_client_config() -> ClientConfig:
  config = load_config()
  if self.config.auth is None:
    print("Attempt to get local client config, nearai_langchain v ^0.0.11")
    print("NearAI authentication required. Running web-based login...")
    command = "nearai login --remote"
    sys.argv = shlex.split(command)
    fire.Fire(CLI)

    # Note: At this point, the user needs to:
    # 1. Follow the auth URL that will be printed
    # 2. Complete the authentication process
    # 3. Get the login save command with parameters

    save_command = input("Please enter the login save command: ")
    sys.argv = shlex.split(save_command)  # Properly splits command respecting quotes
    fire.Fire(CLI)

    config = load_config()
  return config.get_client_config()


def generate_nearai_auth_token(config: ClientConfig):
  auth_bearer_token = config.auth.generate_bearer_token()
  new_token = json.loads(auth_bearer_token)
  new_token["runner_data"] = json.dumps(
    {"agent": "", "runner_api_key": ""}
  )
  auth_bearer_token = json.dumps(new_token)
  return auth_bearer_token


api_key = generate_nearai_auth_token(get_nearai_client_config())
This JS code example uses the Wallet selector to complete the authentication process, and then generates the auth token. For additional information, you can check the complete Next.js implementation.
export const NEAR_AI_AUTH_OBJECT_STORAGE_KEY = "NearAIAuthObject";

export async function handleNearAILoginCallback() {
  const callbackparams = new URLSearchParams(location.hash);
  const accountId = callbackparams.get("#accountId");

  if (accountId) {
    const nearaiauthobject = JSON.parse(
      localStorage?.getItem(NEAR_AI_AUTH_OBJECT_STORAGE_KEY),
    );
    nearaiauthobject.account_id = accountId;
    nearaiauthobject.signature = callbackparams.get("signature");
    nearaiauthobject.public_key = callbackparams.get("publicKey");
    localStorage.setItem(
      NEAR_AI_AUTH_OBJECT_STORAGE_KEY,
      JSON.stringify(nearaiauthobject),
    );
    location.hash = "";
  }
}

export async function nearAIlogin(wallet, message) {
  // Generate nonce based on current time in milliseconds
  const nonce = new String(Date.now());
  const nonceBuffer = Buffer.from(
    new TextEncoder().encode(nonce.padStart(32, "0")),
  );

  const recipient = "ai.near";
  const callbackUrl = location.href;

  const authObject = {
    message,
    nonce,
    recipient,
    callback_url: callbackUrl,
    signature:"",
    account_id: "",
    public_key: ""
  };

  localStorage.setItem(
    NEAR_AI_AUTH_OBJECT_STORAGE_KEY,
    JSON.stringify(authObject),
  );
  const signedMessage = await wallet.signMessage({
    message,
    nonce: nonceBuffer,
    recipient,
    callbackUrl,
  });

  authObject.signature = signedMessage.signature;
  authObject.account_id = signedMessage.accountId;
  authObject.public_key = signedMessage.publicKey;

  localStorage.setItem(
    NEAR_AI_AUTH_OBJECT_STORAGE_KEY,
    JSON.stringify(authObject),
  );

  return authObject;
}
This code example builds the auth payload, signs it using the sign_message_nep413() method, and stringifies the JSON result to generate the auth token. For additional information, see full implementation.
async fn get_api_key(account: SelectedAccount) -> Result<String, anyhow::Error> {
    let nonce = SystemTime::now()
        .duration_since(UNIX_EPOCH)
        .unwrap()
        .as_millis();
    let payload = NEP413Payload {
        message: "Welcome to NEAR AI".to_string(),
        recipient: "ai.near".to_string(),
        nonce: [
            vec!['0' as u8; 32 - nonce.to_string().as_bytes().len()],
            nonce.to_string().as_bytes().to_vec(),
        ]
        .concat()
        .try_into()
        .unwrap(),
        callback_url: Some("https://example.callback.url".to_string()),
    };
    let signature = account
        .signer
        .sign_message_nep413(
            account.account_id.clone(),
            account.public_key.clone(),
            payload.clone(),
        )
        .await?;
    Ok(serde_json::to_string(&serde_json::json!({
        "account_id": account.account_id,
        "signature": BASE64_STANDARD.encode(match signature {
            Signature::ED25519(sig) => sig.to_bytes(),
            Signature::SECP256K1(_) => unreachable!(), // we're working only with ed25519 on trading bot side
        }),
        "public_key": account.public_key,
        "nonce": nonce.to_string(),
        "recipient": payload.recipient,
        "message": payload.message,
        "callback_url": payload.callback_url,
        "on_behalf_of": null,
    }))?)
}
API documentation
You can find complete and detailed technical reference documentation regarding available NEAR AI API methods in this page.
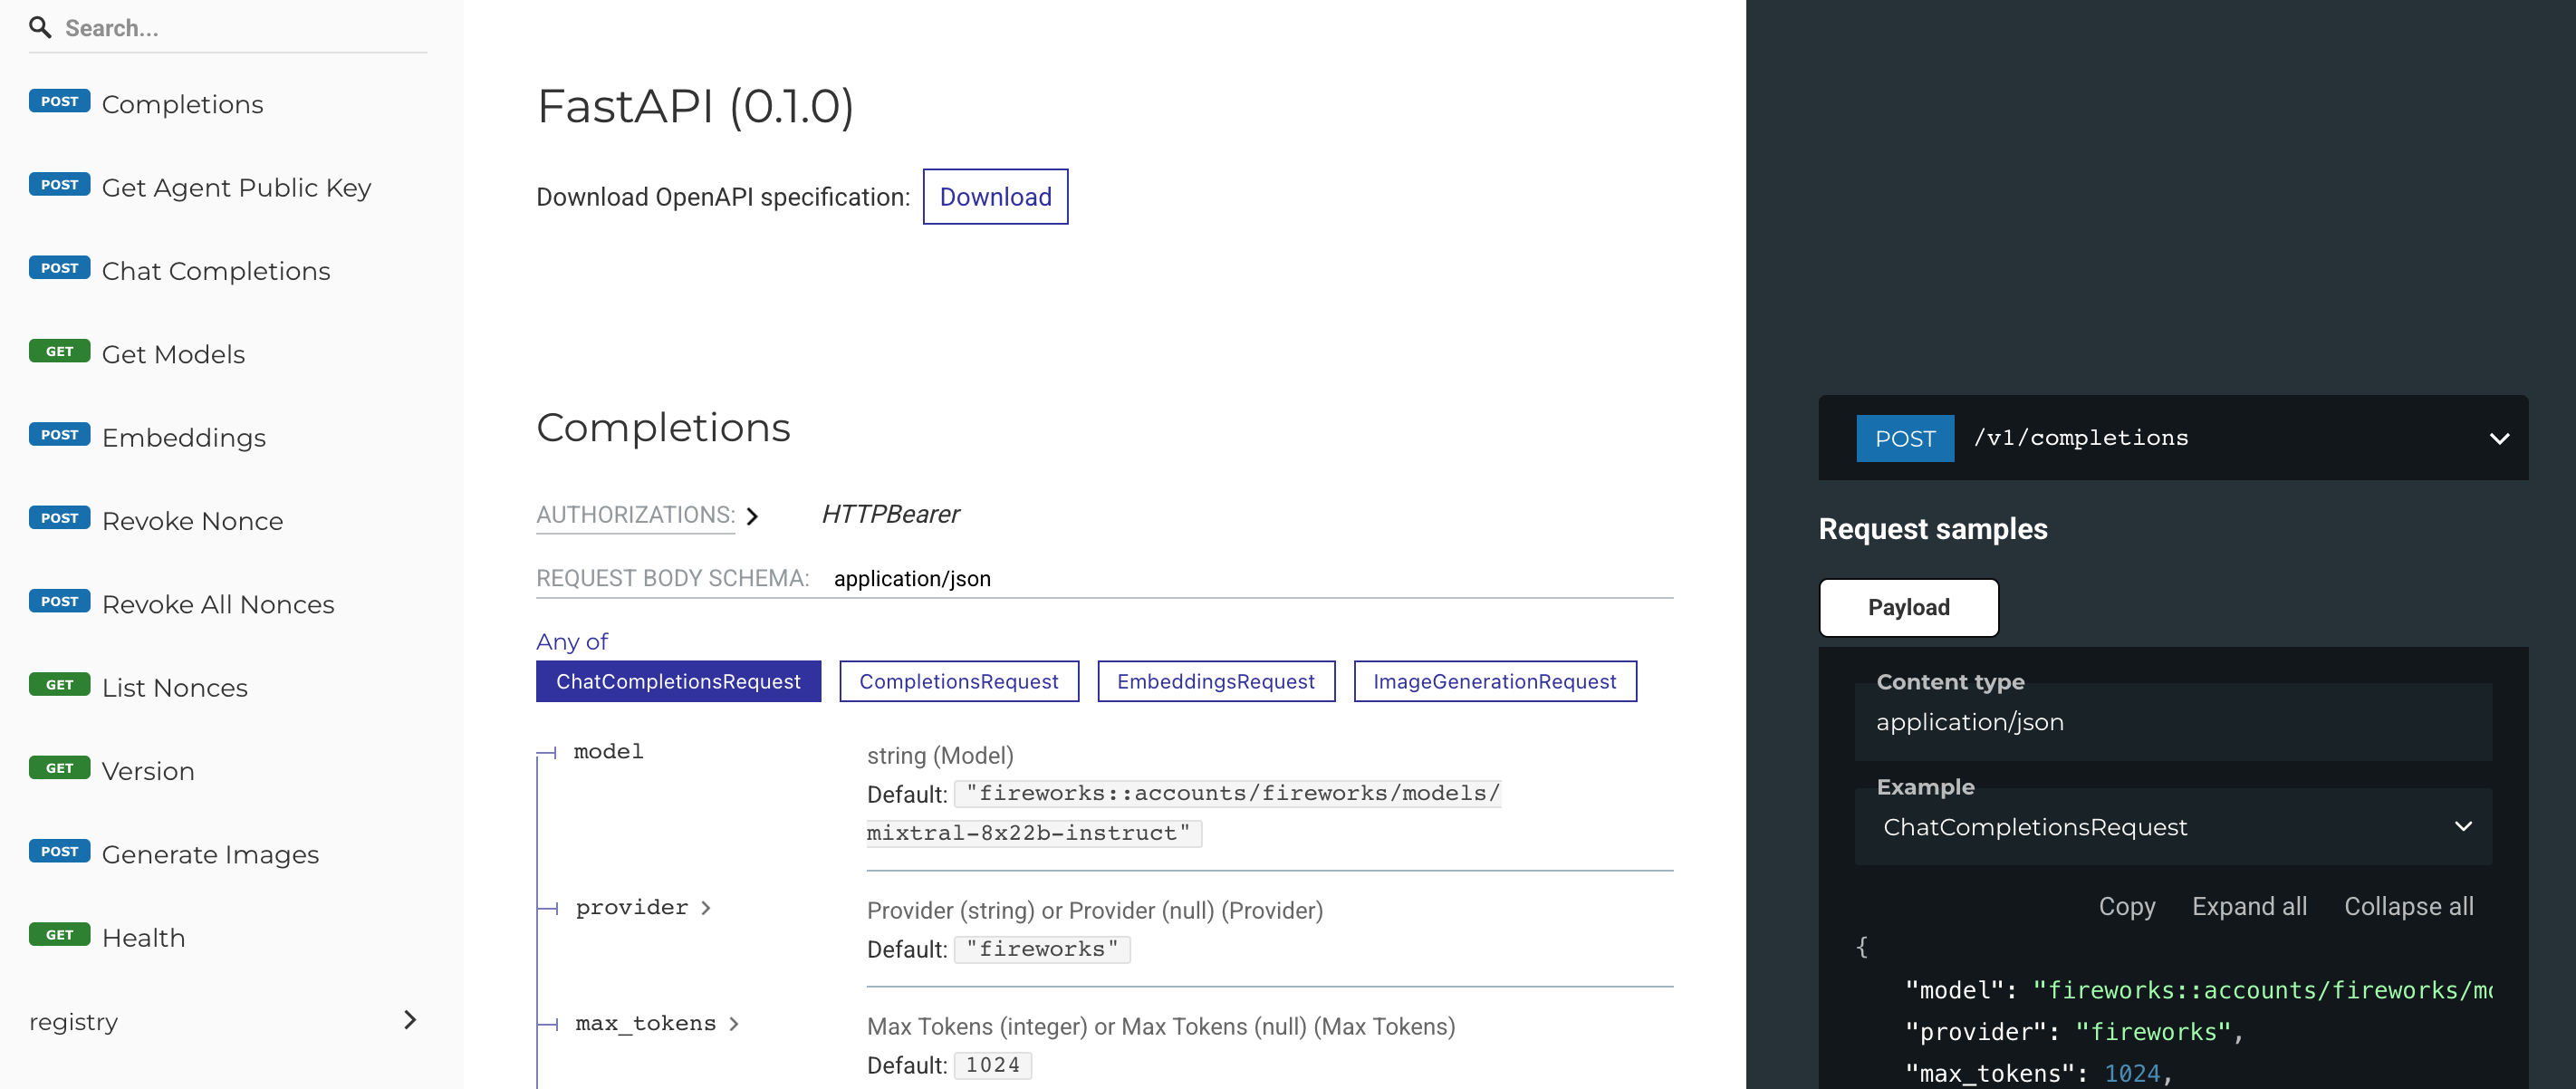
Reference documentation includes:
- Request schemas
- Query parameters
- Responses
- Response schemas
API Endpoints reference documentation
| Link | Description |
|---|---|
| Default | Main Hub methods. |
| Registry | Registry management methods. |
| Agents & Assistants | Agent management methods. |
| Benchmark | Benchmarking methods. |
| Stars | Star management methods. |
| Jobs | Jobs management methods. |
| Permissions | Permission methods. |
| Evaluation | Evaluation methods. |
| Delegation | Delegation management methods. |
| Logs | Logging methods. |
| Vector Stores | Vector Store management methods. |
| Files | File management methods. |
| Threads | Thread management methods. |
| Hub Secrets | Manage Hub secrets. |
| Run Schedule | Scheduling methods. |
Interactive API
NEAR AI also provides an interactive Web API based on Swagger UI that allows you to visualize and interact with NEAR AI API’s resources without having any of the implementation logic in place.
The interactive API is automatically generated from the OpenAPI specification, providing a simple API tool for back end implementation and client side consumption.
Info
Please note that to execute API calls using this interactive tool, you need to provide a valid authentication token. Check this section to learn more about generating your auth token.
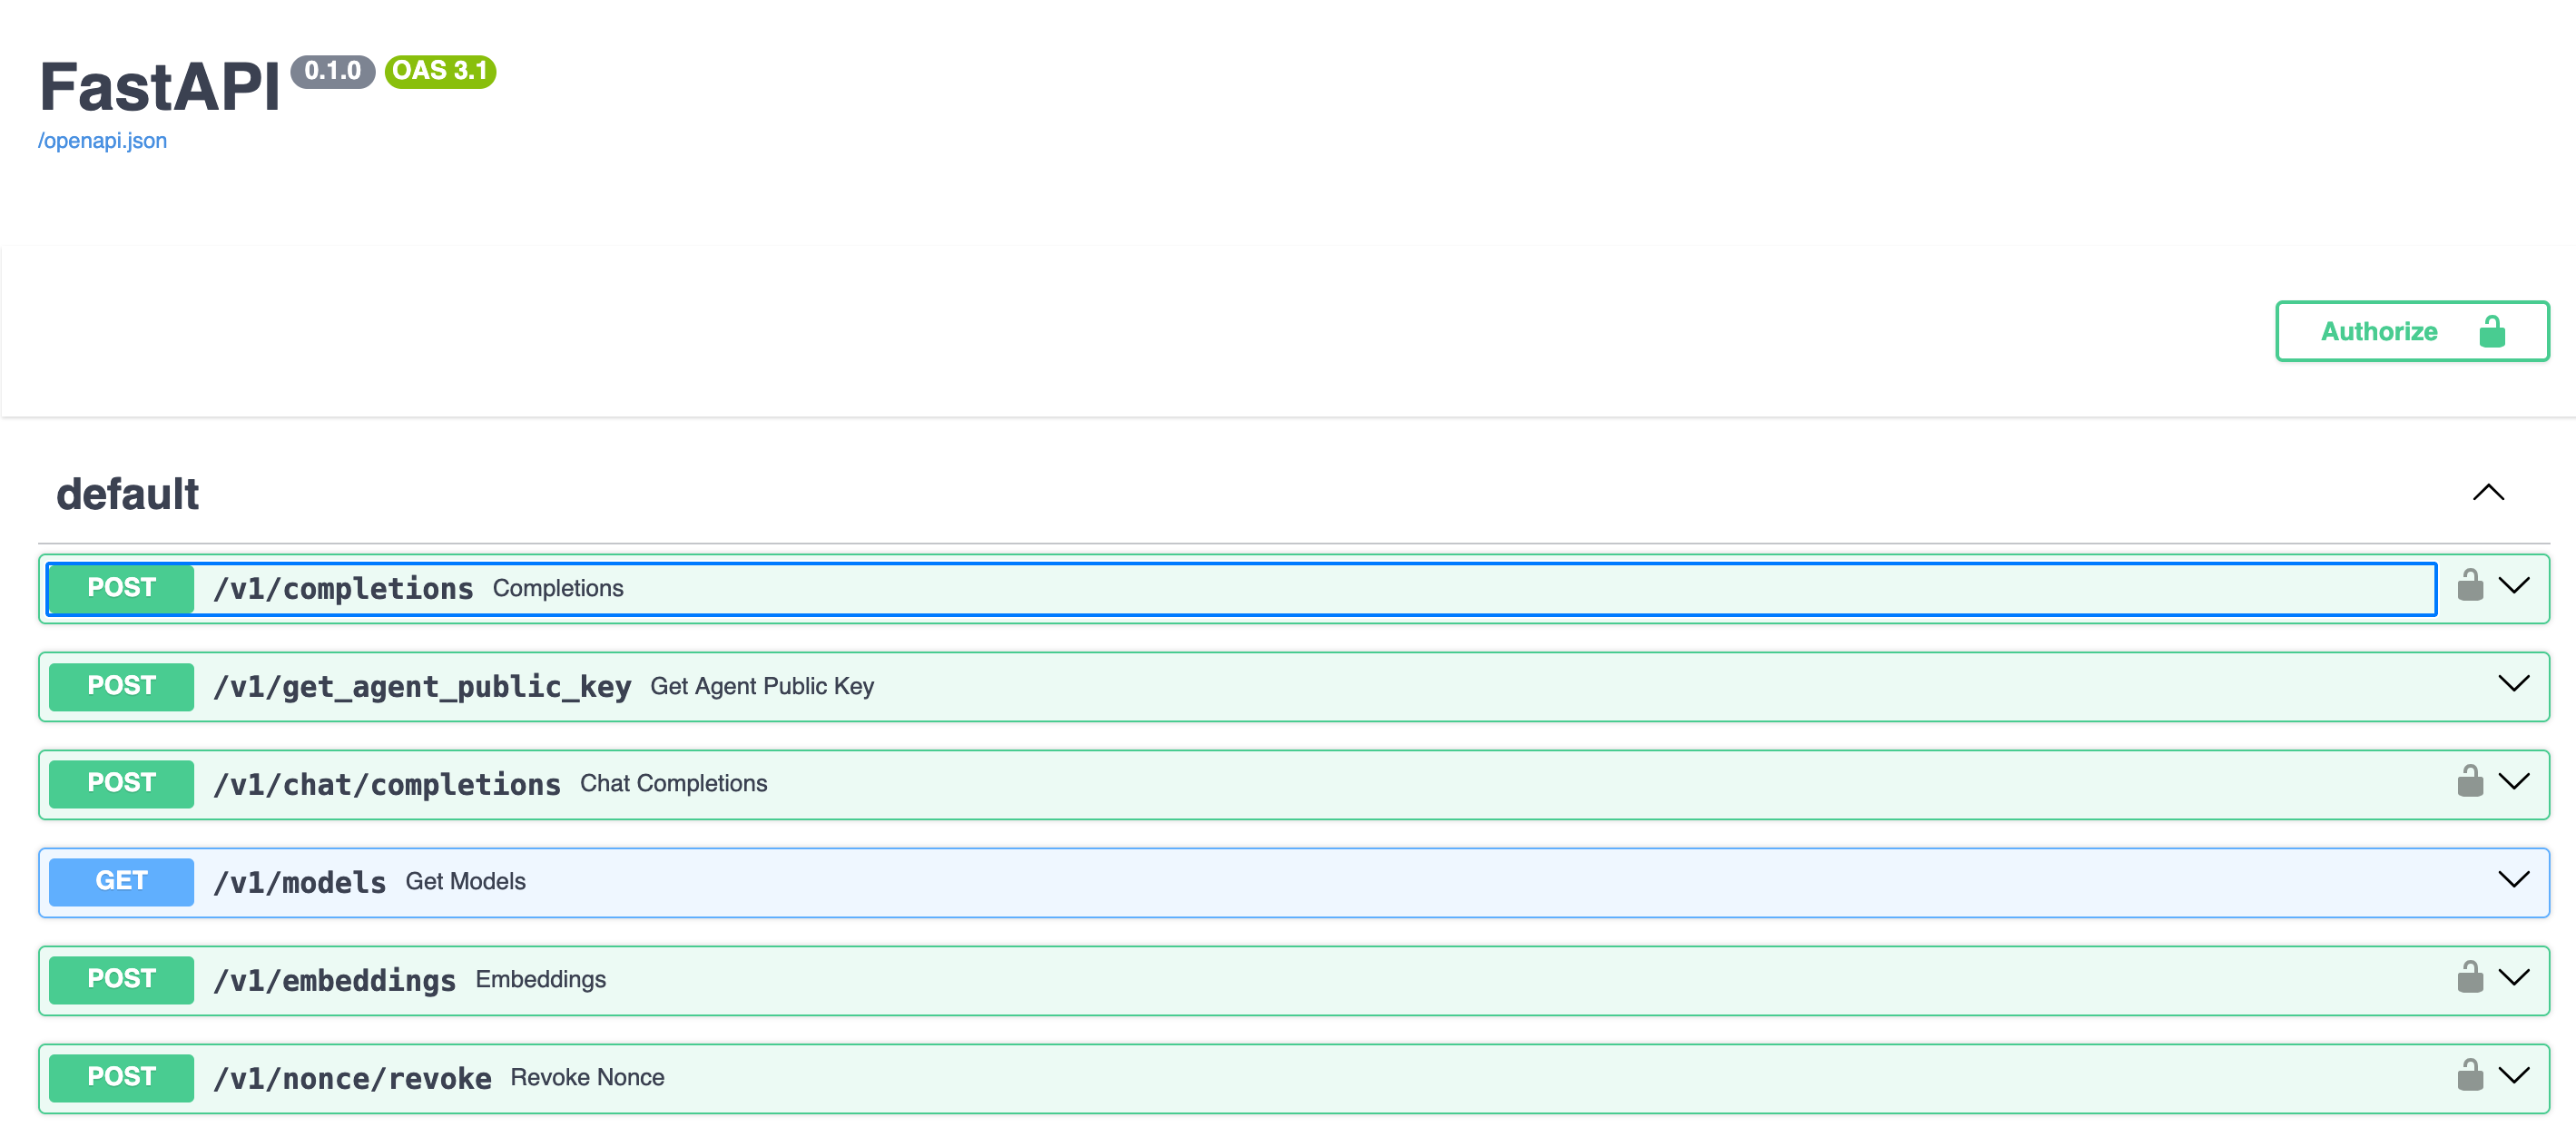
Interactive API Endpoints